Use Neon with Pupil Capture
It's possible to make recordings using Neon in Pupil Capture under MacOS and Linux. You can use the Neon module as if it was a Pupil Core headset by plugging it into your Computer and running Pupil Capture from source.
Note, that in this case gaze estimation will NOT be done using NeonNet, but using Pupil Core's gaze estimation pipeline. This means you will have to do a calibration and experience a lack of robustness compared to NeonNet.
Setup
To get started with Neon in Capture, follow these steps:
- Connect Neon to your computer.
- Open Pupil Capture.
- Under Video Source, click "Activate Device" and choose Neon to activate the scene and eye cameras.
- In the eye camera's window, you can adjust the absolute exposure time and gain. Keep in mind that the Neon eye cameras do not have individual controls, so changes will affect both cameras. Additionally, you may want to switch to ROI mode in the general settings to define a specific area for pupil detection. For more guidance, check out this video.
- Select either
Neon 3Dor2Das the Gaze Mapping option in the Calibration tab.
WARNING
Recordings made with the Neon Companion app (rather than Pupil Capture) are NOT compatible with Pupil Player.
Undistort Video and Gaze Data
Learn how to undistort the scene camera distortions and apply it to gaze positions.
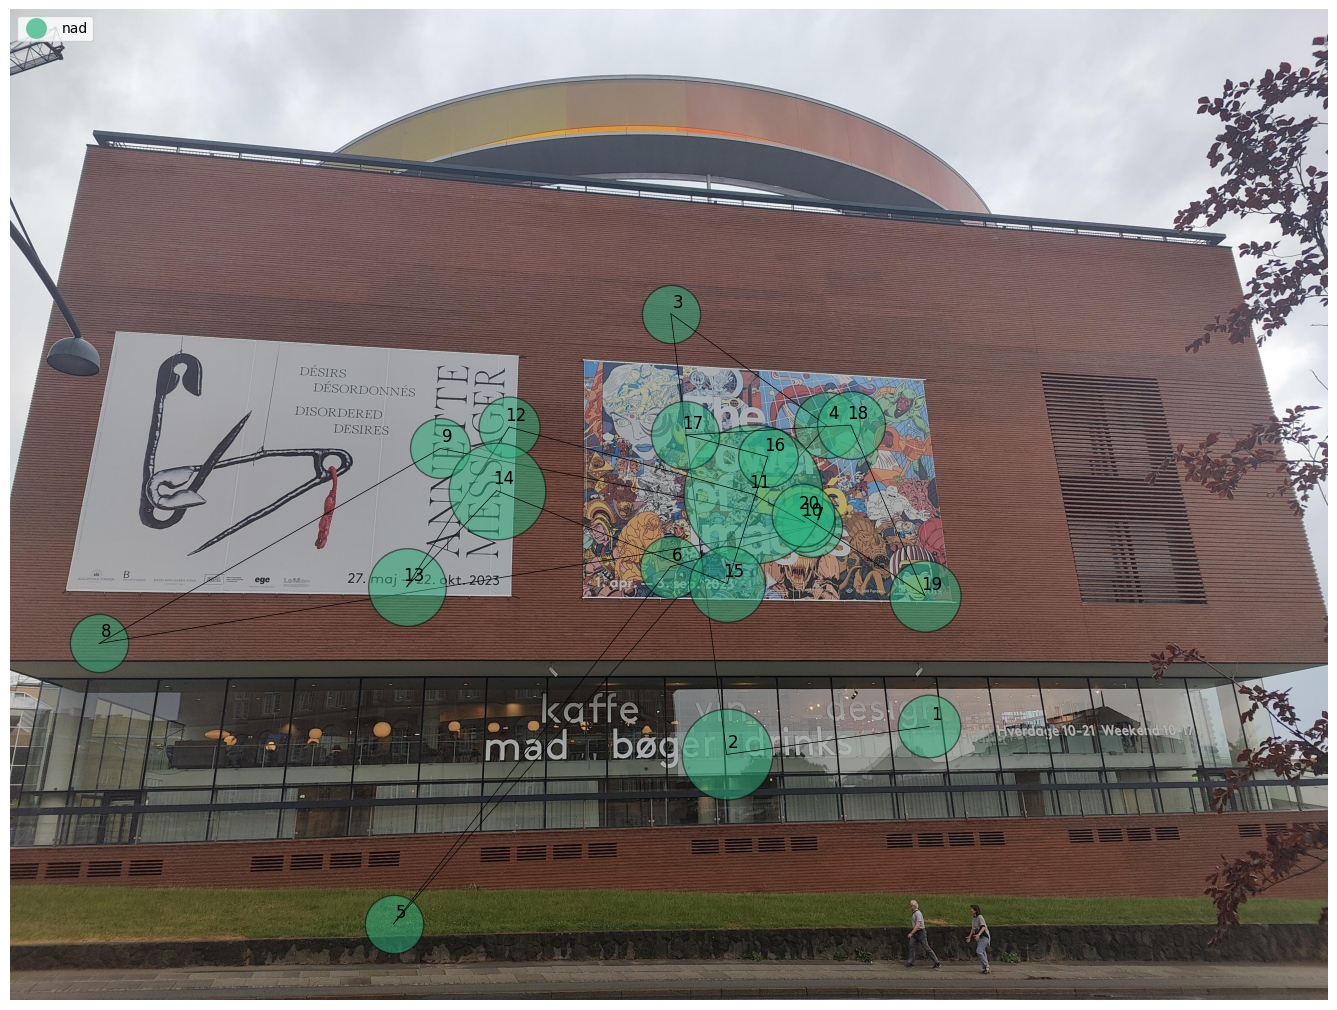
Generate Scanpath Visualisations
Generate both static and dynamic scanpath visualisations using exported data from Pupil Cloud's Reference Image Mapper or Manual Mapper.
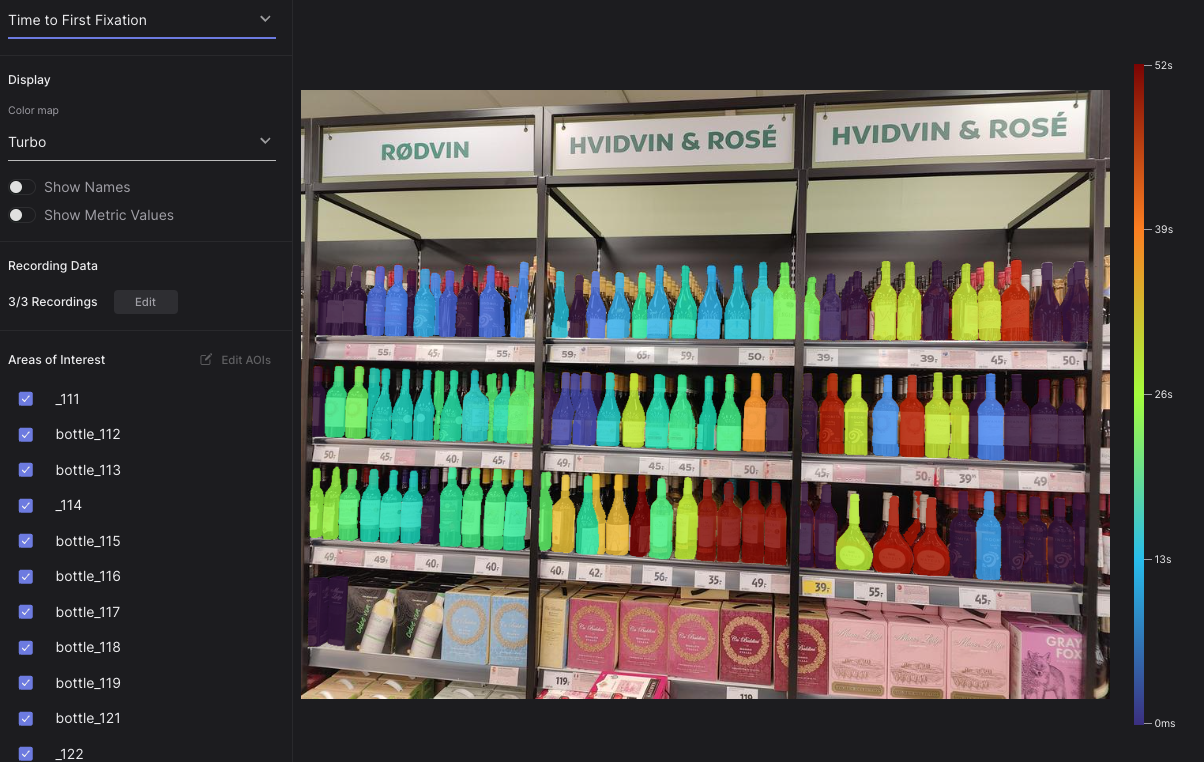
Automate AOI Masking in Pupil Cloud
Extend the capabilities of Pupil Cloud's AOI tool by automatically segmenting and drawing masks using natural language.